In the world of architectural design and interior planning, every element counts — and none more so than the often-overlooked clearance above your stairs. In this article, we’ll dive deep into what staircase headroom really means, why it matters, and how you can design smartly (or retrofit wisely) so your stairs look great and feel safe to use.
1. What Exactly Is Staircase Headroom?
Staircase headroom is the vertical distance from the nosing (front edge) of a stair tread to the underside of the ceiling (or any obstruction) above the stairs. It’s measured along the slope of the staircase. Ensuring a consistent and comfortable head clearance is key to safe and smooth movement between floors.
Why this matters:
- It prevents accidental bumping of the head when ascending or descending.
- It removes the “claustrophobic” feel stairs often get when the ceiling sits too low.
- It ensures compliance with building-codes and standards (which exist for a reason).
2. Why Sufficient Headroom Should Be a Priority
Here are the key reasons to treat headroom as a design priority:
- Safety: Low headroom increases the risk of head injuries, especially in high-traffic zones or where children or elderly move regularly.
- Comfort & Flow: Adequate clearance makes stairs feel open, inviting, and part of the space rather than an after-thought tucked away.
- Code & Inspection: Most jurisdictions require minimum clearance heights. Ignoring them can lead to failed inspections, costly reworks or rejected occupancy.
- Design integration: Good headroom supports better lighting, smoother transitions, and cleaner lines — contributing to overall aesthetics.
3. Minimum Headroom Guidelines (India Context)
While local codes vary depending on region, building type and usage, here are industry-accepted guidelines to use as a rule of thumb:
- Minimum clearance: ~ 2.1 metres (2100 mm) measured vertically from the stair nosing to the underside of the ceiling.
- For residential settings: Aim for 2.1 – 2.2 metres (2100-2200 mm) to allow comfortable movement for most users.
- For commercial/public buildings (higher foot-traffic, varied user heights, mobility aids): Minimum is around 2.2 metres (2200 mm) or more.
Note: These heights must be maintained throughout the usable run of the staircase including landings, change in direction zones, and any sloped ceiling portions.
4. Design Factors That Affect Headroom
When planning or assessing your staircase, these are the influencing variables you should account for:
- Staircase type & layout: Straight, L-shaped, U-shaped, spiral — each has different spatial demands and potential overhead issues.
- Stair-angle (pitch): Steeper stairs rise faster and may reduce available clearance more quickly. A shallower angle gives better headroom but occupies more horizontal space.
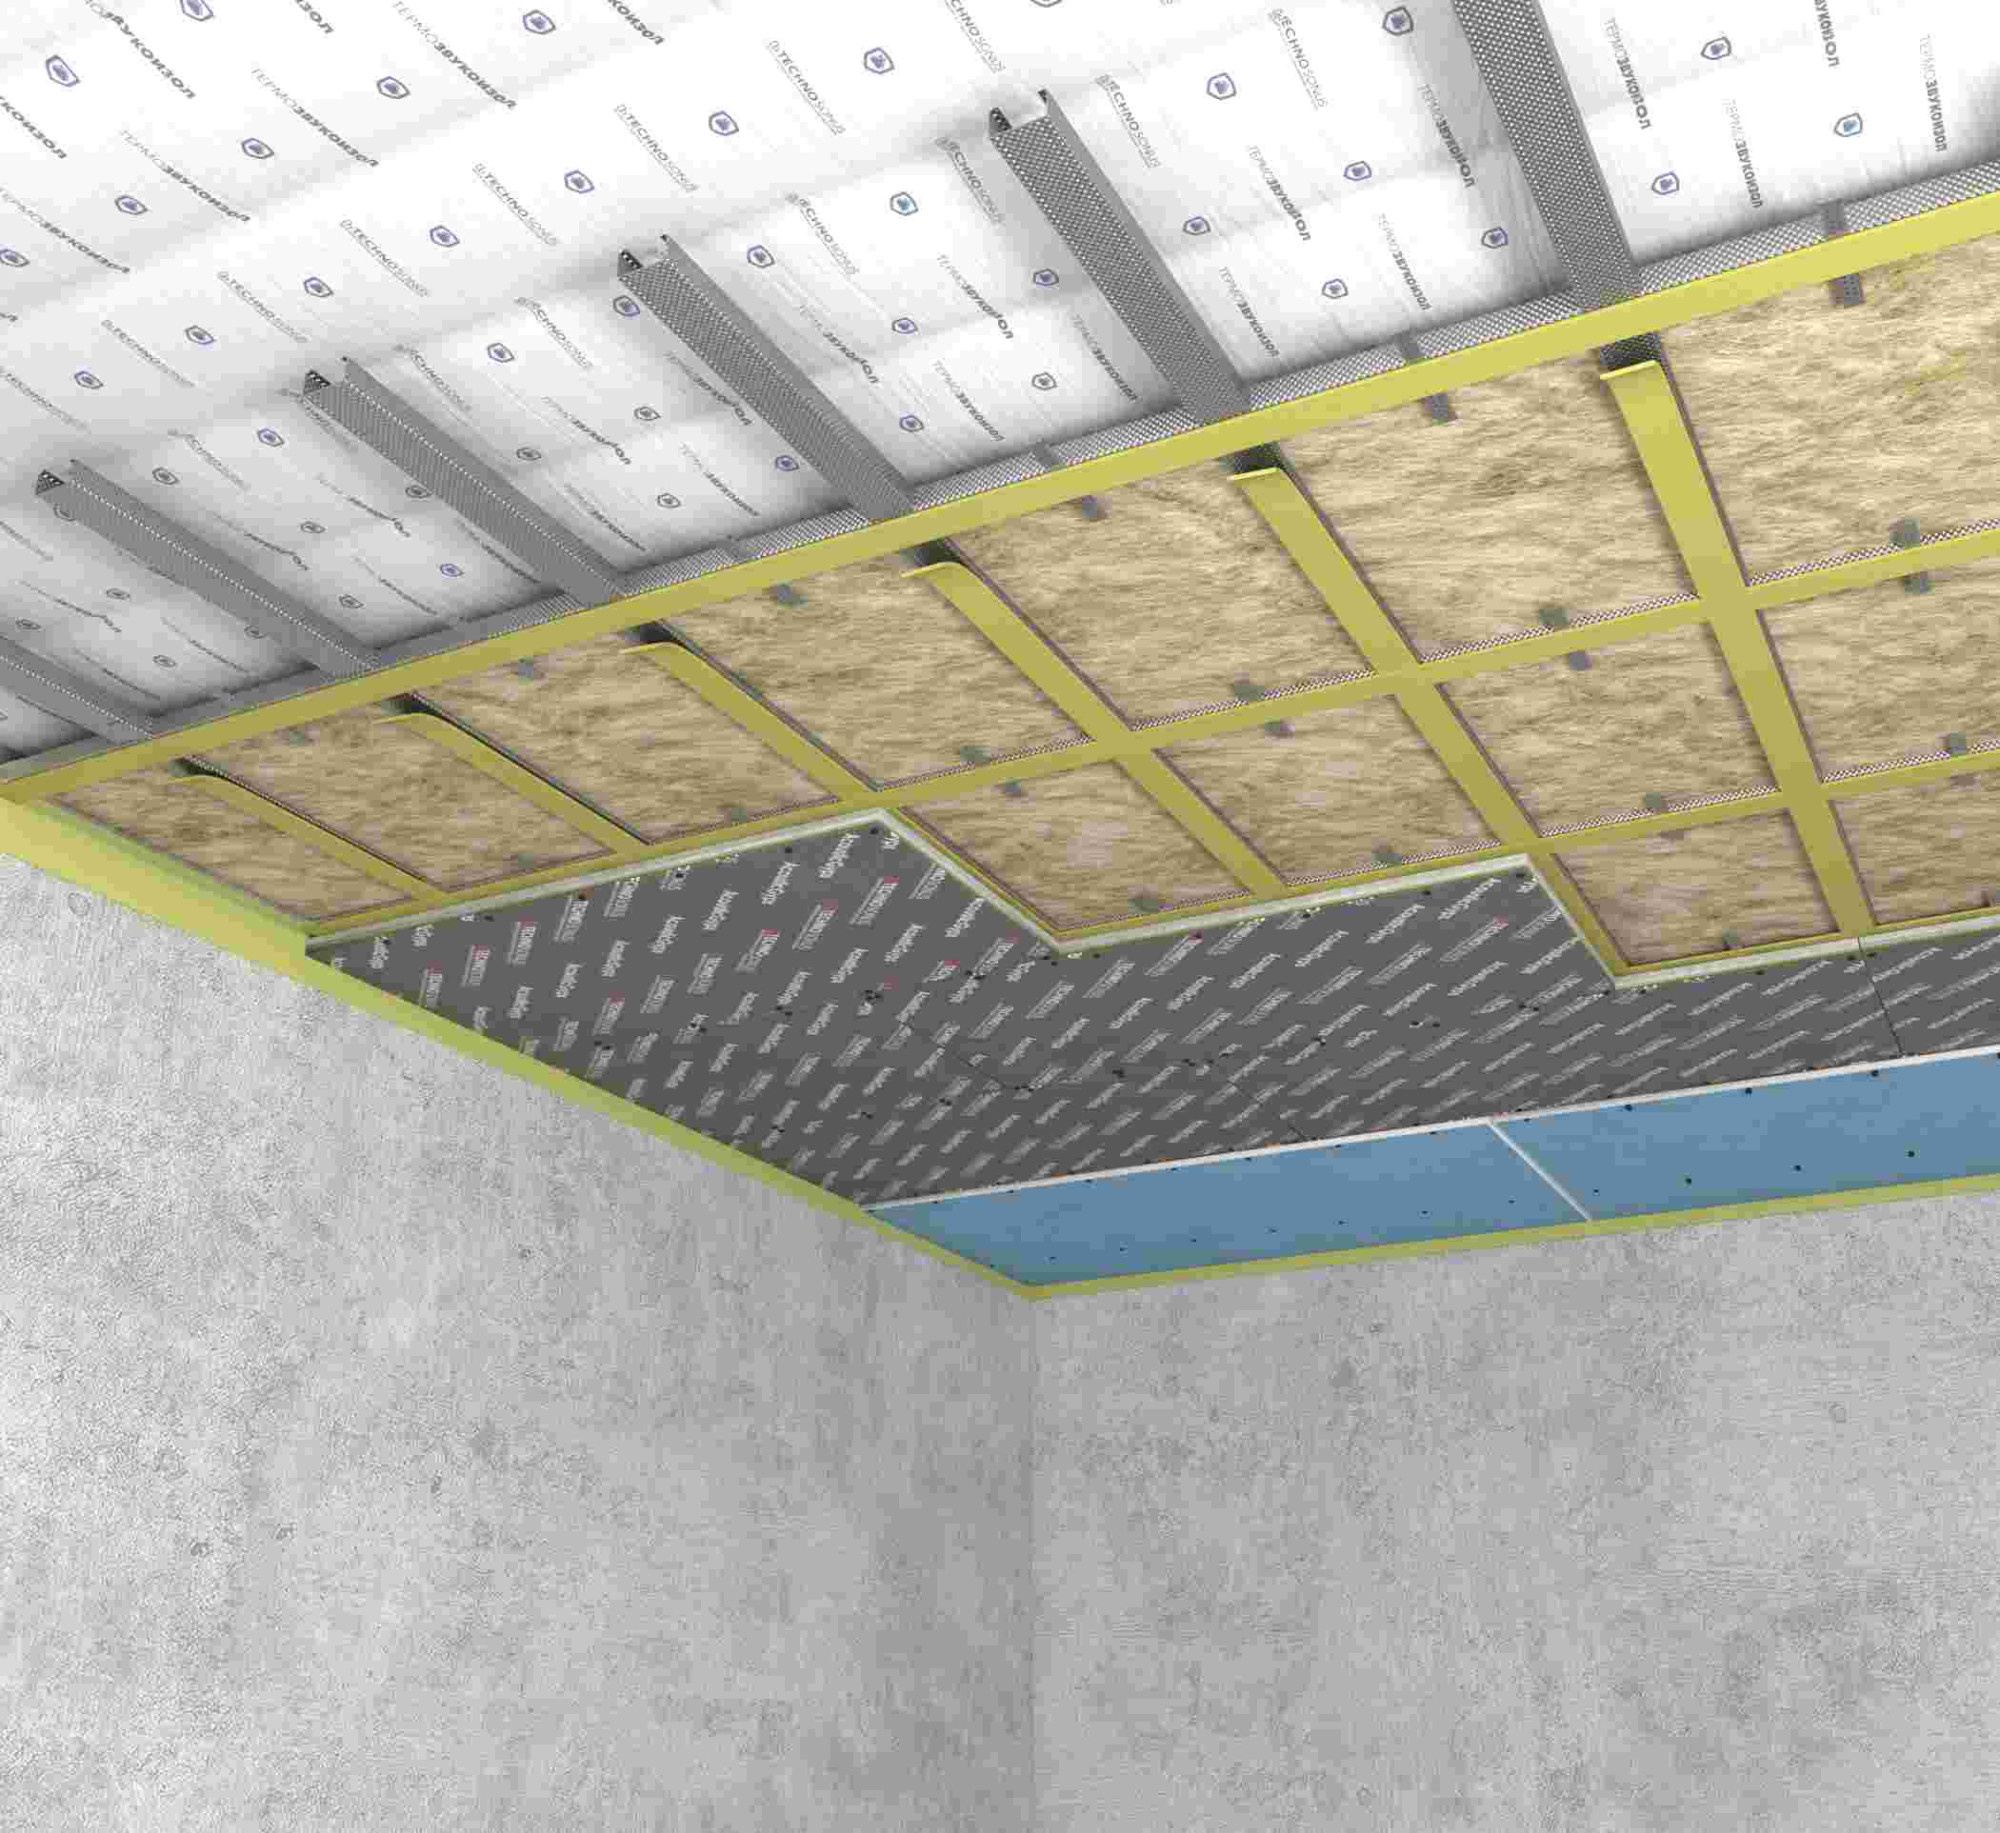
- Ceiling/roof profile: Flat ceilings versus sloped roofs (attic conversions, lofts) make a big difference. Obstructions like beams, ductwork or dropped ceilings must be factored in.
- Landing placement: Intermediate landings can help turn stairs and avoid having a narrow headroom point in the flight.
- Finish materials: False ceilings, lighting recesses, finishes above the stairs — all these eat into the clearance if not modelled properly.
By modelling or visualising these in 3D in the planning stage, potential “tight spots” can be uncovered and resolved before construction begins.
5. Smart Strategies to Increase Headroom (or avoid problems)
If you’re working with constrained space or are retro-fitting stairs, here are practical tips:
- Alter the layout: For instance changing a straight run to an L-shape or U-shape can redistribute overhead space and avoid low-clearance zones.
- Reduce the stair angle: Changing to a less steep pitch gives more horizontal run, improving clearance.
- Modify the ceiling: Where feasible, recess or raise the ceiling/structure above the stairs so the underside is higher.
- Re-examine tread-to-riser ratio: Increasing tread depth and lowering the riser height tends to produce a longer but gentler staircase — which helps head clearance.
- Use open-risers or visual openness: While this might not change the physical clearance dramatically, it can create the perception of more space and reduce the “boxed-in” feel.
6. Common Mistakes to Avoid
Even experienced builders/designers slip up. Here are those pitfalls and how to dodge them:
- Late stage measurement: Failing to measure headroom early means you might discover problems post-construction when change would be expensive.
- Ignoring obstructions: Beams, HVAC ducts, lighting recesses, dropped ceilings and other overhead elements often sneak into the headroom zone.
- Using default templates without site validation: Relying on generic “staircase templates” without adapting them to your actual ceiling height, roof profile or finished floor thickness leads to misfits.
- Neglecting finishing depths: Finishes (floor screeds, ceiling drops, lighting channels) add thickness — ignoring them means you’ll end up with less clearance than you planned.
7. Checklist for Designers & Homeowners
Here’s a quick checklist you (as a homeowner, architect, or interior designer) can use to validate staircase headroom:
- Measure from stair nosing to underside of ceiling/obstruction at ALL points of the run (incl. landings/turns).
- Confirm clearance meets or exceeds the minimum guideline (e.g., ~2.1 m for residential).
- Review stair layout: type, angle, landing placement.
- Inspect for hidden obstructions (beams/ducts/false ceilings) above the staircase.
- Validate tread & riser dimensions and overall height of flight.
- If retro-fitting: assess ceiling modification options, and consider alternative staircase types (spiral, alternating tread) if space is limited.
- Review finish materials and depth allowances (ceiling drops, floor finishes) to ensure they haven’t reduced clearance.
- Ensure documentation or CAD/3D model includes headroom checks — not just tread/riser specs.
8. Why This Matters for Your Brand or Project
For builders, architects, interior designers and homeowners alike, getting stair-head clearance right is a hallmark of professionalism. It shows attention to detail — part of what separates “just a staircase” from “a well-designed functional element”.
For example, in a brand-book or design spec for a company like yours (thinking of your work on brand identity for Anamix Research), articulating these details means less “fix onsite” work, fewer change orders and happier clients. When you show clients you’ve accounted for comfort, safety, code-compliance and aesthetics all at once, you’re building trust.
9. Summary
In essence: don’t forget the clearance above your stairs. It’s not glamorous — but it matters. Whether you’re building new or retrofitting existing stairs, ensure you:
- Know the minimum clearance requirements.
- Model your stair layout with all the overhead structures in mind.
- Use design strategies to optimise headroom where space is tight.
- Avoid common pitfalls that lead to sub-standard head clearance.
- Use a clear checklist to validate before construction begins.
By doing so, your staircase becomes more than just a means of moving between floors — it becomes a safe, comfortable and aesthetically-integrated part of your architectural story.